Friday, July 20, 2012

Individual Deep Dish Cookie


I'll admit it. I'm a little obsessed with individual desserts. Especially cookie variations. It's seriously like the perfect little amount for when you are feeling like something sweet, but don't want to make an entire batch of cookies.

I'd say the best part of this recipe is not having to wait for the butter to soften. In this case, you just microwave it. Once it's totally melted, you add your sugars to it.
Butter and Sugar

 Mix the sugar and butter together and then you add one egg YOLK. Ok, this was the hardest part for me. I almost crushed both egg yolks trying to separate the whites from the yolk. I've hardly had to do that in my recipes so it's not something I am used to, or good at, doing. Once you have the yolk, add it to your butter/sugar mixture, add vanilla and stir.

Mixing the egg in

Once the yolk is all mixed, you throw in your flour and salt and then stir. Just like in my last recipe, everything is done in a single bowl. Easy peasy. 


With dry ingredients added

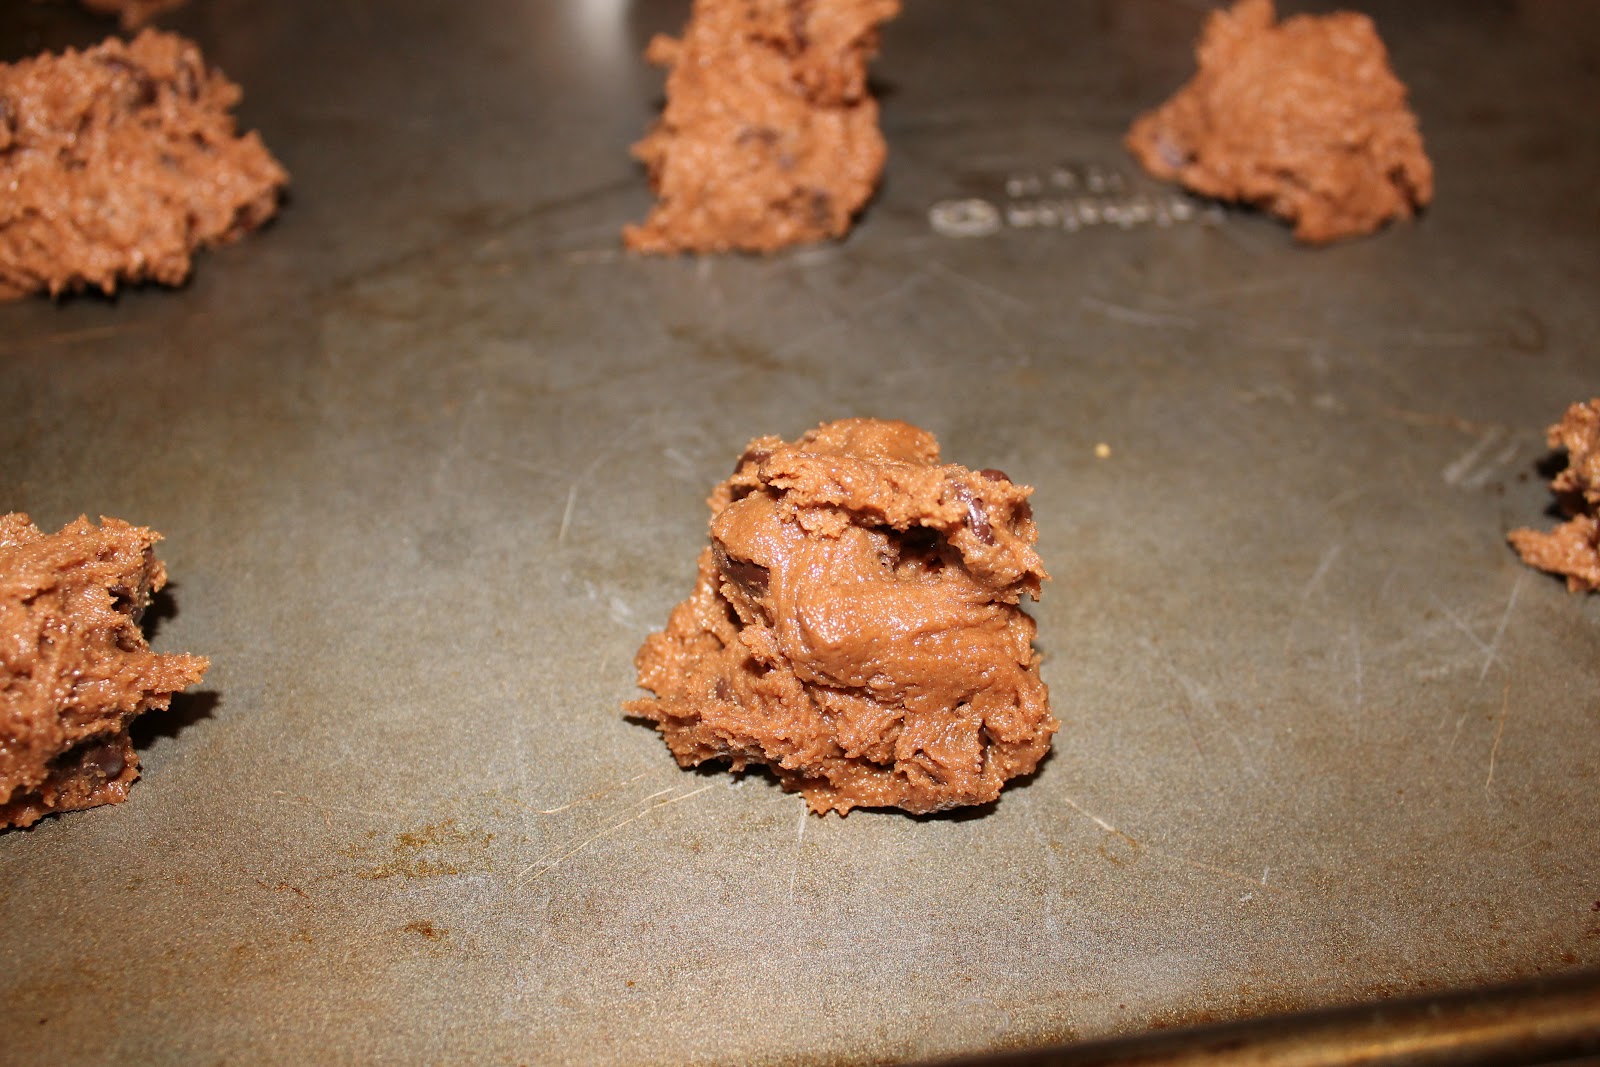
After you've thoroughly mixed everything together you can add your chocolate chips, nuts, candy.. Whatever you feel like throwing in! I did 1 tablespoon of Chocolate Chips and 1 tablespoon mini M&M's. Stir those in and then scoop it all out and into a ramekin (or mug). It does not have to be greased unless you plan on taking  it out of the ramekin. We ate our straight out so we didn't bother with the grease.

  Ready for the microwave!

Microwave for 40-60 seconds and....
DONE!!!!

They came out really good. I always like mine slightly soft (and by soft I mean somewhat gooey) so I only microwaved it for 40seconds.  We also topped ours with ice cream.  If I had had hot fudge I would have thrown some of that on there too.  All in all, it's an easy, fast and yummy desert!

Recipe:
1 Tablespoon Butter (melted)
1 Tablespoon Sugar
1 Tablespoon Brown Sugar
3 Drops Vanilla (I just guesstimated)
Pinch of salt
1 Egg Yolk
1/4 cup Flour
2 Tablespoons Chocolate Chips, Candy, Nuts

In a small bowl, mix together butter and sugar.
Add egg yolk and vanilla and mix well.
Add Flour and salt, mix well.
Fold in Chocolate chips (or candy, nuts)
Put dough in Microwave safe ramekin or mug
Microwave 40-60 seconds
Eat while warm!
*Optional.. top with ice cream!!!

Enjoy and hope you all have a fantastic weekend!

Thursday, July 12, 2012

Chocolate Chocolate Chip Cookies


People that know me, know that when I'm stressed, like really stressed, I like to bake/and or eat sweets.  I've been like this for as long as I can remember.  Sometimes, I'll just grab something at the store, but most of the time, I will make something from scratch.  Yesterday was no exception. I received a call that my parents had been in a car accident. It is awful having to sit around (being 10 hours away from my parents), and wait for a phone call to know that everything is ok. It reminds me of the first time my sister and I made chocolate chip cookies all by ourselves. Our cousin had gotten into a accident with our youngest brother and sister. Because my sister and I were so worried, we made cookies. They were AWFUL. I remember that my Grandpa kept eating them saying how good they were until my mom made him stop because all you could really taste was baking powder!  I swear, I've gotten better at baking since then.

While waiting around, my daughter and I made these chocolate chocolate chip cookies. I made this recipe up myself so it's a cookie I'm really proud of.
 Ingredients (minus salt and eggs)

First things first. As with almost every cookie recipe, you start with softened butter.  Once your butter is softened, add your sugar and brown sugar. Combine both until creamy.
Cutest helper every mixing in the sugars

Add in your eggs and mix well.
Doesn't that look.... nice.

Once the eggs are mixed in add your dry ingredients.  I am not one to use separate bowls, so I just pile all the dry ingredients (flour, cocoa powder, baking soda, salt) on top of the wet mixture and stir.  I ALWAYS add the chocolate chips last because I almost always taste the dough first.
Dry ingredients piled on
 All mixed (minus the chips)

Once you mix in the chocolate chips (I did not photo this), place the dough on your baking/cookie sheet. I usually use a cookie dough scoop, but this time I just guesstimated about a tablespoon of dough and plopped them onto the sheet. I got about 24 cookies from this. Bake them for about 9minutes in a 350 degree oven.
Ready for baking
Done

The thing I love about these cookies is that they bake with a crispiness on the outside and a softness on the inside. I love the mix of crisp and soft.  I also really enjoy the chocolatey flavor these have.  Kaedence enjoying making them too, though she regretted sticking her finger and tasting the plain flour and cocoa powder. And yes, I laughed at that.

Recipe
1 stick softened butter
1 cup sugar
1/2 cup packed brown sugar
2 eggs
2 cups flour
1/4 cup cocoa powder
1 teaspoon baking powder
1/2 teaspoon salt
1 cup (or more) chocolate chips  *I like lots of chocolate chips*

Combine butter and sugars until creamy
Add egg and mix well
Add all dry ingredients, mix well
Add chocolate chips.
Drop by rounded spoonfuls onto baking sheet
Bake in a 350 Degree oven for about 9min.
 Closeup of the cookie

Thankfully, everyone came out of the accident fine albeit bruised and battered. Their car wasn't so lucky. But, cars are replaceable. Parent's aren't.  I don't want to come off preachy (especially since this is a cooking blog and mostly happy), but I just wanted to say: Seat belts are important. Airbags are needed. Wear one and make sure your car has the other.

And on that note... Enjoy this recipe  <3

Easy Individual Beef Wellington


I don't know if anyone watches Hells Kitchen, but I do. I LOVE me some Gordon Ramsey.  One of the things that the chefs constantly cook on Hells Kitchen is Beef Wellington. It's one of the things that they almost always screw up ("It's RAW!!").  For some reason after seeing it messed up time and time again, I wanted to try my hand at making it.  I'd say for my first time, they came out pretty freaking perfect. There are a few things I would modify, All in all though, I'd say it was a great first try!
Ingredients

Surprisingly, it was not very hard to make.  The prep was pretty intense though. The first step is thawing the puff pastry. It takes about 40 minutes to thaw. I just put them on a plate to thaw. The next step is seasoning the steaks.  You rub them with olive oil and then salt and pepper them to your liking.  Then you cook them in a 450 degree oven for 10 minutes. Then you refrigerate them for about 10 minutes.
Seasoned uncooked steak

After 10 minutes of cooking
While it's in the fridge, you can start prepping the puff pastry. I used 1 sheet for both steaks. I cut the pastry in half and on a floured surface, rolled it out. You don't want it rolled out too thin, but thin enough to cover the steak. Once it's rolled out, you place about a spoonful of the mushroom soup on the pastry and spread it a bit.
Ready for the steak
 
Place your chilled steak on top of the mushroom soup and place another spoonful of mushroom soup on top of the steak and spread it around to coat the streak.  Carefully fold the pastry up and over the steak, sealing it in. Brush it with a bit of water to seal the pastry closed.  Repeat the process for the second steak. Once they are both sealed, place seam side down on to a baking sheet. Take a small bowl and whisk together 1 egg and 2 tablespoons of milk. Brush your egg mixture over both pastry wrapped steaks.
Brushed with egg and ready for cooking

Pop in a 450 degree oven for 15-25 minutes or until golden brown. I cooked mine for about 20 minutes, but I think they would have been even better if I had taken them out at 15. I like my steaks RED.  I did have some bubble out of the mushroom soup too, but I think I was very generous with it so next time I just wouldn't use as much.
Perfectly golden brown

Once you take them out of the oven, you want to let the steaks sit for about 5 minutes and then cut into them. We just cut both steaks in half. We ate ours with broccoli and salad but you can really serve anything you want with them. They came out really, really good. And they tasted great.  Very happy for my first real culinary feat!

Recipe
2 6-8oz Filet Mignon
1 TB Olive Oil (give or take)
1 Can Condensed Mushroom Soup (you'll use about half)
1 Sheet Puff Pastry (I used half a box of Pepperidge Farm frozen pastry)
1 Egg
2 TB Milk
Salt and Pepper to taste

Rub both sides of steaks with olive oil. Salt and pepper. Place on cookie sheet.Bake at 450º degrees for 10 minutes. Chill 10 minutes.
Cut pastry sheet in half. Roll out the thawed pastry sheet to 8” diameter (big enough to wrap each steak).
Spread about a tablespoon of mushroom soup on the pastry shell and place the steak on it and then spread another tablespoon over the top of the steak
Bring pastry up over steak and wrap completely. Brush with water to seal. Place, seam-side down on baking sheet.
Beat together the egg and milk in a small bowl. Brush mixture over steaks.
Bake at 450º degrees for 15 - 25 minutes or until golden.
Take out of oven and let rest for about 5 minutes before serving.


Hope you find this recipe as easy as I did!

Tuesday, July 10, 2012

Slutty Brownie Cups


A couple months ago, I made these Chocolate Chip Cookie & Oreo Fudge Brownie Bars. This recipe is a spin/updated version of that.  These came out MUCH better than the bars did. It also uses boxed brownie mix, and refrigerated cookie dough so the prep time isn't as long as the bars.

 Ingredients 

I'm sure you all are wondering about the name.  Well, Chocolate Chip Cookie & Oreo Fudge Brownie is super long. Like SUPER long.  And in an interview, Jessica Simpson called them Slutty Brownie bars. One quick internet search showed me that a lot of people do indeed call them Slutty Brownies. So, voila: Slutty Brownie Cups!

The first thing you want to do is grease your muffin pan. And grease it well. You want to make sure these babies come out of the pan in one piece (more on that fun later). Once it's greased you want to smash 1 1/2 pieces of cookie dough into the bottom of each muffin cup.


Once you have the cookie dough all set, place one Oreo in the middle of each cup and press down to incorporate it into the cookie dough. You do not want it to just be sitting on top.  We used double stuffed Oreo's but you may want to use original because the double stuffed Oreos did take up a LOT of the space in the cups.

Ready for the chocolate topping

You are now ready for the brownie portion! You could probably have the brownie mix ready to go before this point, but I had forgotten about it until I was ready for it.  You just prepare the brownie mix according to the box. No variations required. My favorite boxed mix is Betty Crocker's Dark Chocolate.  Once your mix is prepared you spoon it over the oreo & cookie dough until the cups are 3/4 of the way filled. 


As you can tell from the above picture, my cups were filled to the brim. DON'T DO THIS!  I had major overflow and it made this first batch almost impossible to get out of the pan in one piece. My second batch, which I failed to photo before cooking, were filled much better.  You cook this for about 18 minutes in a 350 degree oven. 

All Done
 How the inside looked

Once you've let them cool completely, you are ready to remove the Slutty Brownie Cups from the pan. I used a butter knife to scrape around the edges and then just popped them out. The first batch went awful, but the second batch was MUCH easier to get out.
On a side note... I don't have a recipe really for this, but I did have leftover cookie dough and brownie mix after I had filled all my muffin cups. So with the leftovers I filled a greased mini muffin pan with brownie mix (each cup about 1/2 filled) then pushed in about 1/4 of a piece of cookie dough, then topped with more brownie mix (so now it's 3/4 filled), then baked for 18 minutes.  So I had mini cookie dough filled brownie bites! 

Mini Cookie Dough filled Brownie Bites

Since I had made a double batch of the Slutty Brownie Cups, we had TONS. I made them for a 4th of July cookout and I kid you not, every one of them was eaten by the next morning. Including my Cookie Dough Brownie Bites. Even all the rejects got eaten. So if that isn't a sign that these were delish, I don't know what is!

Recipe: *single batch*
1 box Betty Crocker Dark Chocolate Brownie Mix (prepare according to box)
1 pkg Ready to Bake Pillsbury Chocolate Chip Cookie Dough (24 count)
12 Double Stuffed Oreo's

Preheat oven to 350 Degrees
Grease muffin pan generously
Smash 1 1/2 pieces of cookie dough in each muffin cup
Top each one with an oreo and press down slightly
Prepare Brownie Mix according to box
Top each cup with brownie mix, filling cup to 3/4 filled.
Bake for 18 minutes.
Cool COMPLETELY before removing.

Hope everyone had a fantastic Fourth of July!!

Monday, July 9, 2012

Pepperoni Pizza Quiche

I made this quiche a month ago, but somehow forgot to post about it.  It was a huge hit in my house.  I find quiche's REALLY easy to make.  Especially since you can make them ahead of time and just reheat. I also find that I like the flavor better eating it the next day (as leftovers). I think it's because the herbs and spices having more time to sit have more flavor. Naturally, I got this recipe from Pinterest and it is from the Carnation Website.

Ingredients
 Cheese sprinkled Pie crust

The first thing you do is take your frozen pie crust and sprinkle 1 cup (half the package) of shredded Italian cheese. Then cover the cheese with pepperoni.  The recipe called for chopping the pepperoni, but I used mini sized ones, so I didn't bother. It is really up to your preference. 

I'll admit, I ate quite a few pepperoni's while making this. We are BIG pepperoni lovers.  Once you start the first layer, you start on the filling. Whisk evaporated milk, eggs, flour, basil and garlic powder in bowl until blended. Then pour the mixture into your pie shell. The pepperoni's I had laid in the bottom of the shell floated to the top. Not sure if that was supposed to happen, but I doubt it would matter.
See?

Then top  off your quiche with the remaining cheese and pepperoni.  Then bake in a 350 degree oven for 40-45min. 
Ready for baking!
 Done!

Once it is done, let cool and eat or you can pop it in the fridge to eat later! The next time I make this, I may try sausage. Or sausage AND pepperoni.  Good thing is, you could pretty much throw any meat in here and I'm sure it would be good. And in my opinion, it's a really kid friendly recipe. What kid doesn't like eggs or anything that resembles pie or pizza?? Enjoy!

Recipe:
1 unbaked Deep Dish Pie Crust  *I used Pillsbury*
1 8oz pkg shredded Italian Cheese
2oz Pepperoni (about 20-30)    *You can chop these if you choose, I did not*
1 12oz Can Evaporated Milk
3 Large Eggs
2 Tablespoons AP Flour
1 Teaspoon dried Basil
1/8 Teaspoon Garlic Powder

Preheat oven to 350° F.
Sprinkle 1 cup of Italian Cheese into Pie Shell.
Top with half of your pepperoni.
Whisk evaporated milk, eggs, flour, basil and garlic powder in medium bowl until blended. Pour mixture into pie shell. 
Sprinkle with remaining cheese and top with the rest of your pepperoni.
Place quiche on baking sheet.
Bake for 40 to 45 minutes or until knife inserted near center comes out clean. 
Cool for 5 minutes before serving.